Coloring Hair Extensions: Do's and Don'ts | Hair Advice
Key Takeaways
- Learn the four essential steps on how to dye hair extensions, from preparing the supplies and applying the dye to conditioning the hair to achieve a color that matches your natural hair color.
- Scroll down to discover practical, damage-free coloring hair extension techniques for each extension type, including tape-ins, clip-ins, sew-ins, and micro-links.
- Choose Livicor Hair, and you'll get 100% virgin Remy human hair extensions that allow you to do anything you would with your natural hair, including coloring, heat styling, and chemical treatments.
Step 1: Prepare Your Extensions
Gather Supplies
First, you'll want hair color and developer; just buy them from beauty stores or professional salons. Do not purchase hair color from box dyes at any pharmacies nearby since they do not contain a developer for your hair extensions.
A volume of 10 developer or semi-permanent dyes is highly recommended. You can also use a 20-volume developer, which is okay, but avoid using 30 and 40-volume developers, as using too much may damage your extensions.
After buying hair dye and developer, get the application tools, which include a dye brush, mixing bowl, wide-tooth comb, tin foil, gloves, old towel, cape, and plastic wrap.

Can you dye hair extensions? The short answer is yes! You should have all the required materials ready.
Detangle and Clean
Work tangles out of hair extensions with a wide-tooth comb or brush, being gentle. Start from the ends of your hair and work your way up. If you wore styling products in your extensions, be sure to wash those out first so the color will penetrate each strand evenly and thoroughly for optimal color.
In any of the hair extension types, when you come across cleaning, make sure to use lukewarm water and sulfate-free shampoos, and never rub them to avoid tangling. Allow your extensions to dry completely, and then you can begin coloring.
Test for Color
Always do a strand test on the last inches of a very small section of hair extensions or a hair clip before coloring the entire extension. This step is just to check how the hair extensions will react to the dye and whether the final color is what you want.
For the water-based dyeing method, dip your hair extensions in water and allow them to soak for a few seconds to a minute. Then, take out your extensions and gently squeeze the excess water, starting from the roots down to the ends.

You will be amazed at how much color the hair has absorbed with just one process. If you want a more vibrant color, you can repeat this process several times until you gain the desired color.
Just like with natural hair, it leaves the dye on for the recommended time on the box, after which it is to be rinsed, shampooed, and then blow-dried. For watercolors, avoid shampooing since this may make the semi-permanent dye fade quickly.
Step 2: Choose the Right Dye
Select Dye Type
When coloring hair extensions, the most advisable selection is sulfate-free or mild formulation hair color designed for extensions. Though sulfate-free products might not ensure the long-term durability of color, they tend to preserve the natural oils of the hair extension and keep them intact without much damage.
Avoid Harsh Chemicals
Avoid using dyes that contain harsh chemicals like ammonia or peroxide. These substances are common in color lift but can strip the moisture from hair extensions and weaken them, making them more apt to break easily.
Instead, opt for dyes enriched with conditioning agents, such as argan oil or keratin. These will help lock moisture inside tresses, avoid damage, and keep your extension soft and silky even after the dying process.
Step 3: Apply the Dye
Section and Protect
Now comes the most crucial part of this how to dye extensions tutorial! Divide the extensions into small, manageable sections using your fingers or a comb. If dyeing clip-in or permanent hair extensions, avoid dyeing thick clumps, as these can sometimes cause uneven coloring.
For the tape-in extensions, cover the adhesive strips with tin foil or plastic wrap to prevent the dye from breaking down the adhesive and causing slipping. Similarly, for clip-in extensions, cover the clips by taping over them or covering them in plastic wrap, which will protect them from staining or discoloration.
Apply Dye Evenly
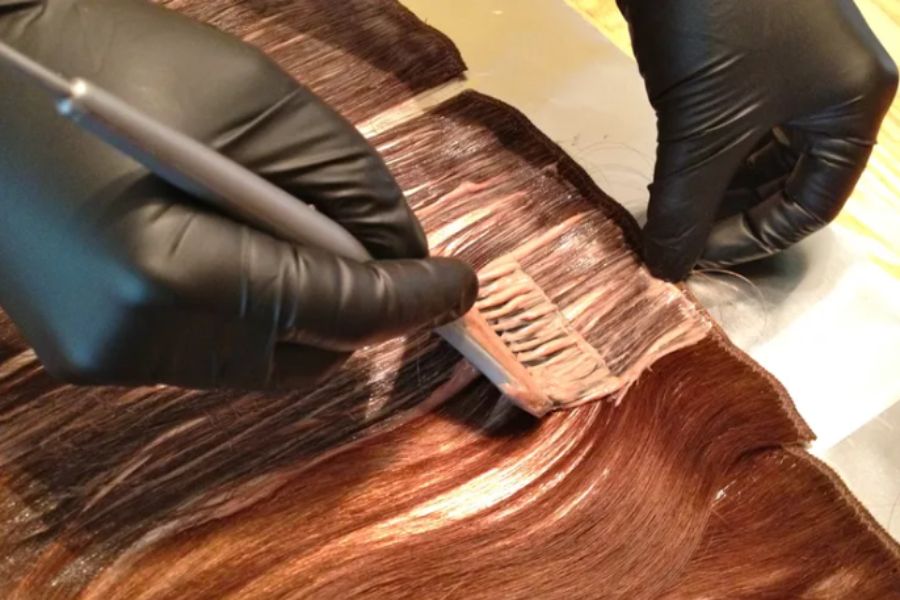
How can you color hair extensions evenly? Put on gloves and, with a brush, carefully apply the dye to each small section of hair extensions. Remember not to let the dye get onto the protected areas.
Always stroke your brush from the roots to the tips of the hair extensions. Going the other way makes the hair frizzy, and the color becomes patchy and uneven. You can also use your fingers to rub each strand with care to ensure that the dye is completely covered on both sides and from top to bottom.

Monitor Processing Time
Once your extensions are totally dyed, wrap them in tin foil or plastic to prevent the dye from drying out before it has a chance to set. Then, proceed to the recommended manufacturer's processing time, which is usually within 20 to 40 minutes.
While your extensions are processing, you can do a color check by gently rubbing a small section with a paper towel. If the color isn't right, reapply it with a brush and allow it to process a little longer.
Step 4: Rinse and Condition
Rinse Thoroughly
Once you achieve the color of your desire, remove the excess dye from your hair. Rinse your hair with lukewarm water at low pressure; run your fingers through it to eliminate excess product. Allow the water to run along the lengths naturally down at the ends of your extensions.
Flush for at least 15 to 20 minutes to ensure that all of the excess dyes disappear. Otherwise, the residue may stick to your extensions, making them look heavy, dull, and unnatural.

Condition Extensions
After rinsing, wash your extensions with a sulfate-free or color-safe formula. You don't need to include shampoo in this if you're doing a watercolor dye because shampoo strips out the semi-permanent dye.
Next, use a sulfate-free leave-in conditioner with nourishment ingredients such as shea butter or baobab seed oil to replenish moisture lost during coloring and add shine. Work conditioners from mid-lengths to ends, keeping away from adhesives or bonds. Once you have completed conditioning, let your extensions air dry before use or styling.
Specific Dyeing Techniques
Tape-In Extensions
If you have tape-in extensions and are wondering, "Can you dye extensions?" The answer is “yes,” but with one significant note: the dye must be kept away from adhesive tapes, as it will dissolve the adhesives and cause the extensions to slip.
Cover the non-adhesive side with removable tape, such as blue painter's tape, and carefully dye the hair to protect the adhesive area.
Clip-In Extensions
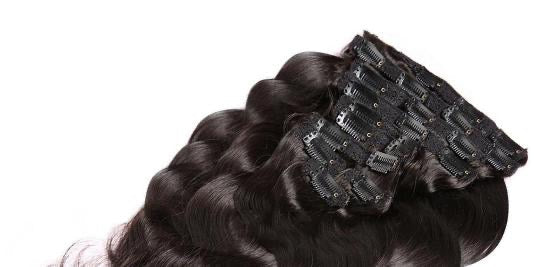
Clip-in extensions are probably the most accessible type of extension for dyeing. However, just like the tape-ins, you must keep the clips away from the dye so they do not oxidize, discolor, or cause any other damage.
Before coloring, cover the clips with plastic wrap. Alternatively, you can use your other hand—not holding the dye brush—to hold the clips and apply the dye slowly and carefully.

Weave/ Sew-In Extensions
If you are dyeing your hair while wearing weave or sew-in extensions, ensure the dye does not come into direct contact with the braids. The dye can loosen and damage the attachment points, causing the hair to fall out.
To ensure the dye is applied evenly without affecting the weave, gently apply the dye through each section of hair using a tint brush or your fingers, beginning from the mid-lengths to the ends. While dyeing, you can also use tin foil or plastic wrap to protect the weave or braids.
Micro-Link Extensions
Also, with micro-link extensions, you mustn't dye the micro-links themselves; the dye will break down the keratin tips or silicone linings of these extensions, making them slip out much faster.
Should you need to have your roots dyed, it is recommended that only the top part of your hair be dyed, apart from the extension attachments. Also, conduct this exercise carefully so bond or ring areas are not stained with dye.
Frequently Asked Questions
What type of hair extensions can you dye?
Human hair extensions are the only type that can be dyed. Synthetic hair extensions will not absorb color or hold dye; they won't change colors. All the extensions here at Livicor Hair are 100% virgin Remy human hair so they can be dyed effectively.
Can you dye previously colored hair extensions with a new color?
Yes, you can dye previously colored extensions a new color. In that case, it is best to dye only to a darker shade or use semi-permanent dye to minimize damage. It is better to have a professional do it to ensure the results are evenly distributed. Do not try to lighten the hair extensions at all.
How long should you leave the dye on the hair extensions?
You may leave your extension dye on anywhere from 20 to 40 minutes, depending on the color you wish and the specific time instructions on the dye you purchase. Generally, lighter colors take less time than darker colors.



Comments